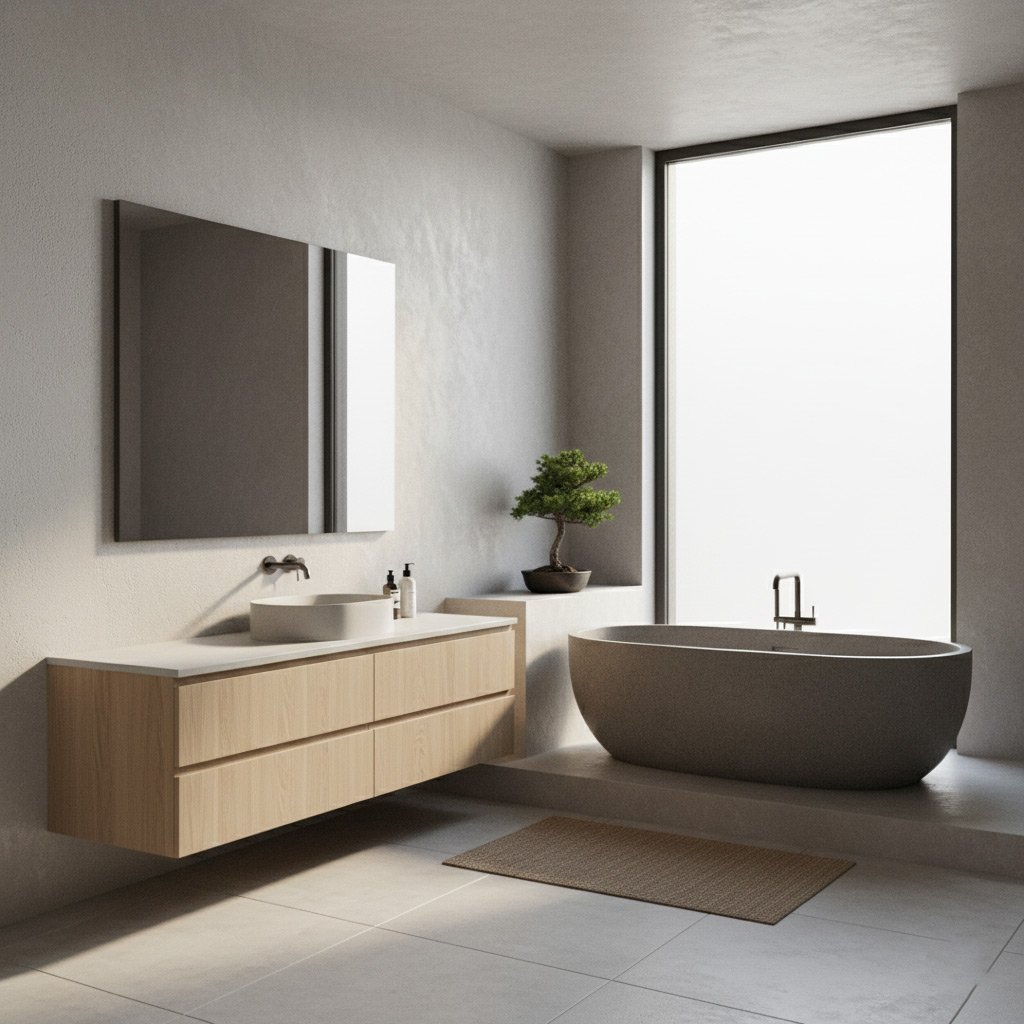
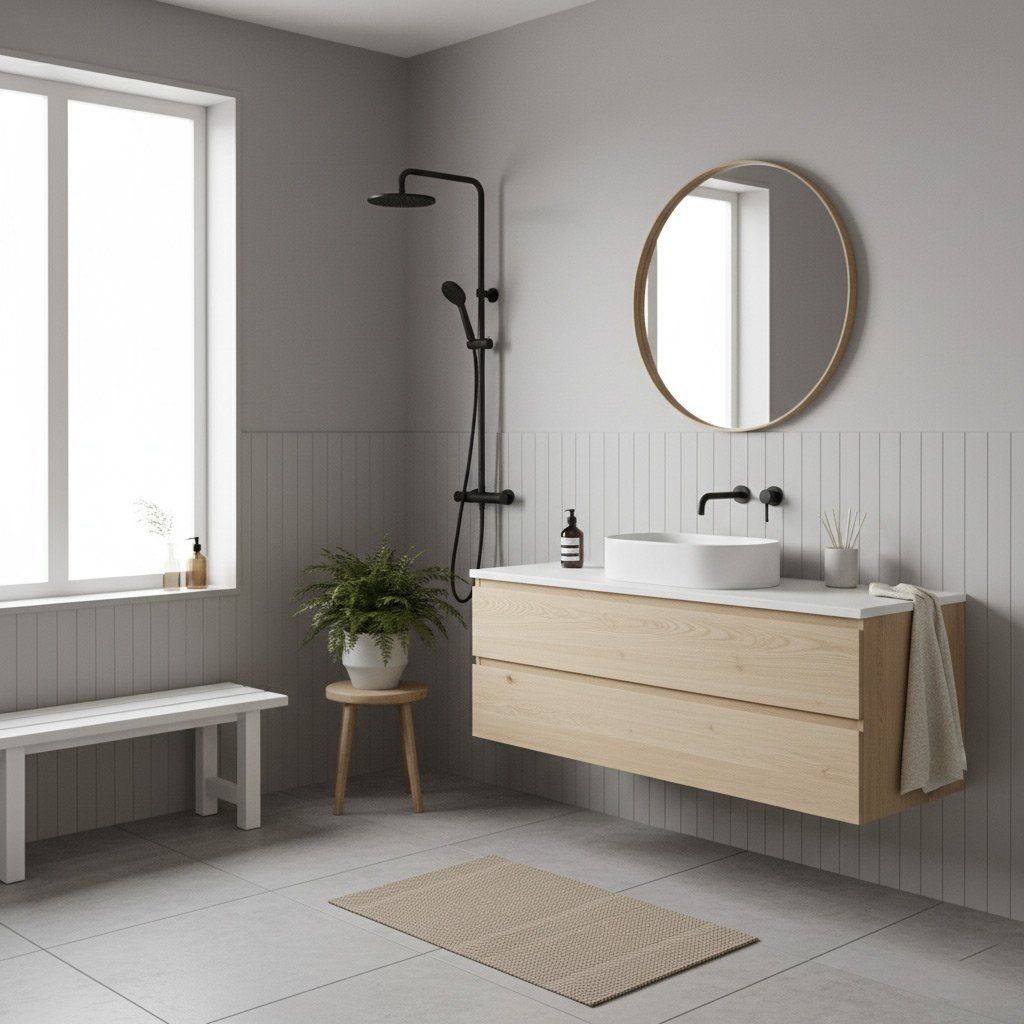
Picture this: you pull the curtain back and the shower looks like it just rolled out of a showroom—no water stains, no mildew, just pristine tile and a liner that seems to laugh at the California humidity.
Pasadena homeowners have cracked the code on shower liners, treating them less like an afterthought and more like the secret sauce that keeps a bathroom looking fresh for years. They skip the cheap, one‑size‑fits‑all options and go straight for custom‑cut, water‑tight barriers that hug every curve of the tub.
Most DIYers think a generic liner will do the job, but the locals know that a sloppy fit invites leaks, mold, and costly repairs. By investing a little extra time and money up front, they dodge the nightmare of a soggy floor and keep resale value soaring.
Ready to discover the exact steps Pasadena pros follow so their showers stay flawless season after season? Keep reading and you’ll learn the insider moves that turn a simple remodel into a lasting masterpiece.
Types of Shower Liners: Pros, Cons, and What Works Best in Pasadena
Standard PVC Liners
Most DIYers reach for PVC because it’s cheap and easy to cut. It holds up well against everyday splashes, but the thin material can bow under the weight of a full tub.
- Pros: Low cost, widely available, simple to install.
- Cons: Prone to tearing, less resistant to the high humidity that Pasadena’s climate throws at it.
CPE (Chlorinated Polyethylene) Liners
CPE is the quiet champion of the West Coast. It’s thicker, more flexible, and loves the desert‑like moisture that creeps into bathrooms.
- Pros: Superior water‑tight seal, resists mold growth, tolerates temperature swings.
- Cons: Higher price tag, requires a sharper utility knife for clean cuts.
Hybrid & Premium Options
For historic Pasadena homes, many pros reach for a hybrid liner that blends PVC’s ease with CPE’s durability. These custom‑engineered sheets often feature a reinforced edge that locks onto the tub flange.
- Best for: Renovations where you can’t afford a leak, especially in older tile work.
- Downside: You’ll need a professional to measure and cut, but the peace of mind pays off.
Precise Measuring & Custom Cutting: Achieving a Seamless Fit
Step 1: Measure Twice, Cut Once
Start by laying a thin strip of cardboard on the tub edge and tracing the exact perimeter. Mark the high points where the tub lip meets the wall—those are the spots that cause leaks if missed.
Grab a steel tape, not a cloth one, and record three numbers: width, length, and the depth of the curb. Write them down, then double‑check. Accuracy here saves you a trip back to the hardware store.
- Measure at the front, sides, and back.
- Note any irregularities—like a rounded corner or a recessed niche.
- Use a level to confirm the floor isn’t sloping.
Step 2: Create a Template, Then Cut
Cut the cardboard tracing out and lay it on the liner material. This template becomes your guide, so you’re not guessing.
With a sharp utility knife, follow the outline, keeping the blade at a 45‑degree angle for a clean edge. Leave a half‑inch extra margin around the curve; you can trim later, but you can’t add material back.
Step 3: Test the Fit Before the Glue
Place the cut liner back on the tub and press it into every corner. Look for gaps—any light showing through is a red flag.
If you spot a tight spot, trim a sliver with the knife, then re‑test. It’s faster to tweak now than to wrestle with water damage later.

Material Selection for California Humidity: PVC, CPE, and Beyond
Pasadena’s climate throws moisture at everything. A liner that can breathe without soaking up water is the secret weapon. Below is the playbook for picking the right skin for your shower.
Why PVC Still Rules
PVC is cheap, tough, and loves the desert‑coast mix of dry heat and sudden damp. It resists mold, holds up to chemicals, and slides into place without a fuss.
- Cost‑effective – fits most budgets.
- Easy to cut – perfect for custom fits.
- Water‑tight seal – keeps the floor dry.
CPE: The Quiet Contender
CPE (chlorinated polyethylene) is the under‑dog that outlasts PVC in high‑humidity zones. It’s a bit pricier, but the extra durability pays off when you’re fighting Pasadena’s occasional foggy mornings.
- Superior flexibility – hugs odd tub shapes.
- Resists cracking – even after years of temperature swings.
- Low VOC – better for indoor air.
Going Green: EPDM & Beyond
If you’re eco‑conscious, EPDM rubber and reinforced vinyl are worth a look. They handle humidity like a champ and don’t leach nasty chemicals.
- Natural rubber base – excellent moisture barrier.
- Long lifespan – often 15‑20 years.
- Eco‑friendly – recyclable at end of life.
Bottom line: match the liner to the climate, not just the price tag. A smart material choice saves you from leaks, mold, and a costly redo down the line.
Step‑by‑Step Installation Techniques to Prevent Leaks and Mold
First thing’s first: clear the work zone. Pull the old liner out, scrub the tub surface, and let it dry completely. A clean canvas is the secret sauce for a watertight seal.
Prep the Bath Base
Before the liner ever touches the tub, you need a solid foundation.
- Inspect the tub for cracks; fill any gaps with a flexible epoxy.
- Apply a thin coat of silicone caulk along the drain flange and corners.
- Press a plastic vapor barrier over the caulk; it creates a smooth landing pad.
Seal and Fit the Liner
Now the custom‑cut liner gets its moment.
- Lay the liner on the floor, align the pre‑scored cutouts with the faucet and drain.
- Press the liner into the corners, using a rubber roller to eliminate air pockets.
- Run a bead of 100% silicone around the perimeter, smoothing it with a fingertip.
- Let the silicone cure for at least 24 hours before the first shower.
Ongoing Maintenance & Cleaning Strategies for Longevity
Daily Quick‑Clean Routine
After each shower, a quick swipe with a squeegee removes water that would otherwise sit on the liner and work its way into seams. Don’t let droplets linger—they’re the first step toward mold.
Follow up with a light spray of a pH‑neutral bathroom cleaner and a soft cloth. This keeps soap scum from building up without attacking the liner’s surface.
Deep‑Clean Schedule
Once a month, give the liner a more thorough treatment. Mix equal parts white vinegar and warm water, let it sit for five minutes, then scrub gently with a non‑abrasive sponge.
- Focus on corners and the drain area where grime loves to hide.
- Rinse with clean water and dry with a microfiber towel to avoid streaks.
- Apply a thin layer of silicone‑free sealant if the liner shows any micro‑tears.
Preventive Checks
Every six months, pull the curtain back and inspect the liner’s edges. Look for any lifting, discoloration, or tiny holes—catching these early saves a costly replacement later.
Keep the bathroom’s humidity in check with a vent fan or a portable dehumidifier. Dry air = longer liner life, especially during Pasadena’s rainy season.
Case Study: How a Custom‑Cut Liner Revitalized a Historic Pasadena Bathroom
The Challenge
When the owners of a 1920s Craftsman home in Bungalow Court called, they were terrified of tearing out original tile. The shower basin was a shallow, irregular rectangle that didn’t match any off‑the‑shelf liner. Water was seeping behind the old liner, creating a musty smell that clung to the bathroom like a bad habit.
The Solution
We started with a laser‑precise measurement of every curve, then drafted a template on heavy cardstock. The template guided a custom‑cut CPE liner that wrapped snugly around the tub’s odd angles. To keep the California humidity at bay, we added a thin foam‑backed seal along the perimeter.
- Measured twice, cut once – no guesswork.
- Used a high‑density CPE sheet for durability.
- Applied a waterproof silicone bead before setting the liner.
The Result
Within a week the bathroom looked showroom‑ready. No more leaks, no more mildew, and the historic tile stayed untouched. The homeowners reported a noticeable boost in resale value, and the custom liner has held up for 18 months without a single sign of wear.
Final Words
When you treat a shower liner like the backbone of your bathroom, you’re not just avoiding leaks—you’re adding real equity to your Pasadena home. The extra minutes you spend measuring, cutting, and sealing pay off in a bathroom that looks showroom‑ready year after year.
Quick Takeaways
- Choose a liner material that thrives in California humidity—PVC or CPE are top performers.
- Custom‑cut to the exact dimensions of your tub; a tight fit is the single biggest leak‑prevention hack.
- Seal every edge with a high‑quality, mold‑resistant adhesive and double‑check with a water test before you finish.
Ready to see the difference a pro‑level liner can make? Dive deeper into the full range of options and see why Pasadena homeowners keep coming back to our Shower Liners expertise.
People Also Ask
How do Pasadena homeowners measure shower spaces for liners?
They use a laser distance meter or a sturdy tape measure to capture exact length, width, and slope, then double‑check at multiple points to account for uneven walls. This precise data allows a custom‑cut liner that fits without gaps, reducing water intrusion.Why do locals prefer PVC or CPE liners over other materials?
PVC and CPE resist the high humidity and occasional temperature swings typical of Southern California, staying flexible and waterproof longer. Both materials are also UV‑stable, which is important for homes with skylights or large windows that let in sunlight.What installation tricks prevent mold growth in Pasadena bathrooms?
Homeowners apply a thin, even layer of waterproof sealant along the liner’s edges before securing it, and they ensure the liner slopes at least 1/4 inch per foot toward the drain. Proper ventilation after each shower further discourages mold spores from taking hold.How often should a shower liner be inspected in a Pasadena home?
A visual check every six months is recommended, looking for tears, peeling seams, or water pooling. If any damage is spotted, replace or repair the liner promptly to avoid costly water damage.Do historic Pasadena homes require special liner considerations?
Yes, older homes often have irregular tile layouts and original plaster walls, so a custom‑cut liner that accommodates these quirks is essential. Using a flexible CPE liner helps conform to uneven surfaces while preserving the home’s historic character.Pasadena Bathroom Remodel specializes in high‑quality bathroom renovations, drawing on over a decade of craftsmanship in the Pasadena area. Their team combines local design insight with meticulous project management to transform homes with lasting results. Committed to personalized service, they work closely with each client to bring their vision to life.
Need Bathroom Remodel?
We revitalize bathrooms in Pasadena and surrounding communities, delivering high‑quality remodels on a fast timeline (91101, 91103, 91104, 91001, 91201). Our focused process gets your space ready for daily use in weeks, not months.
Get Bathroom Quote