You’re about to spend a small fortune on a bathroom makeover, and one cheap mistake could wipe out your budget faster than a leaky faucet. In Pasadena, where style meets sunshine, acrylic wall panels promise a sleek look without the hassle of tile, but they also come with hidden traps that most homeowners never see coming.
From choosing the wrong thickness to ignoring proper prep work, the errors pile up quickly and the repair bills climb even faster. The good news? You don’t have to be a DIY disaster waiting to happen—there’s a simple checklist that keeps your project on track and your wallet intact.
Stick around, and you’ll discover the exact steps seasoned remodel pros use to sidestep the most common pitfalls, so your new acrylic walls look flawless for years to come.
Understanding Acrylic Wall Panels: Materials, Benefits, and Suitability for Pasadena Homes
What Acrylic Panels Are Made Of
Acrylic wall panels are essentially sheets of high‑grade polymer, reinforced with a UV‑stable coating that resists yellowing under the California sun. Think of them as a lightweight, shatter‑resistant cousin of glass. The core material is a blend of methyl methacrylate monomers that give the panels their glossy finish and flexibility.
Why Homeowners Love Them
These panels deliver a sleek, modern look without the grout lines that tile brings. Key perks include:
- Fast installation – most jobs finish in a day or two.
- Low maintenance – a quick wipe keeps them spotless.
- Waterproof barrier – no seepage behind the wall.
- Durability – resistant to cracks, chips, and impact.
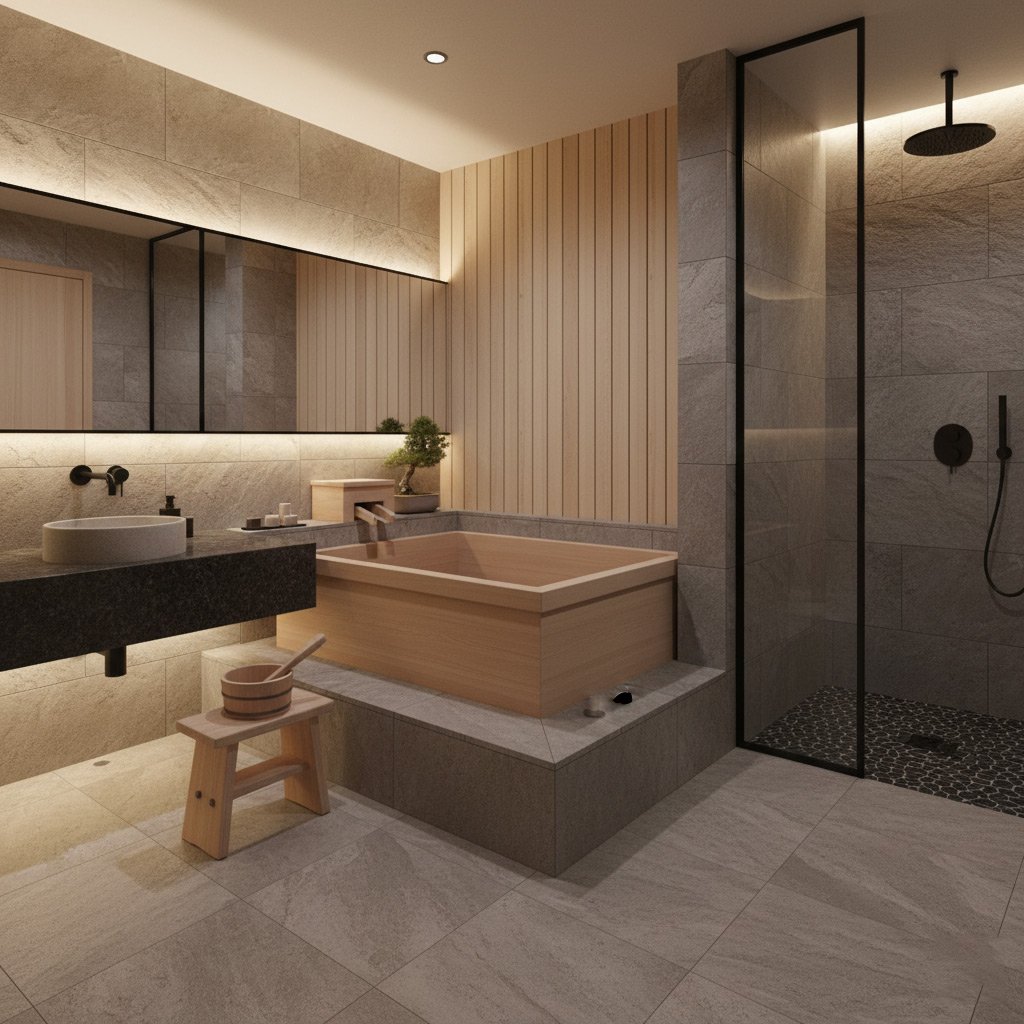
Are They Right for Pasadena?
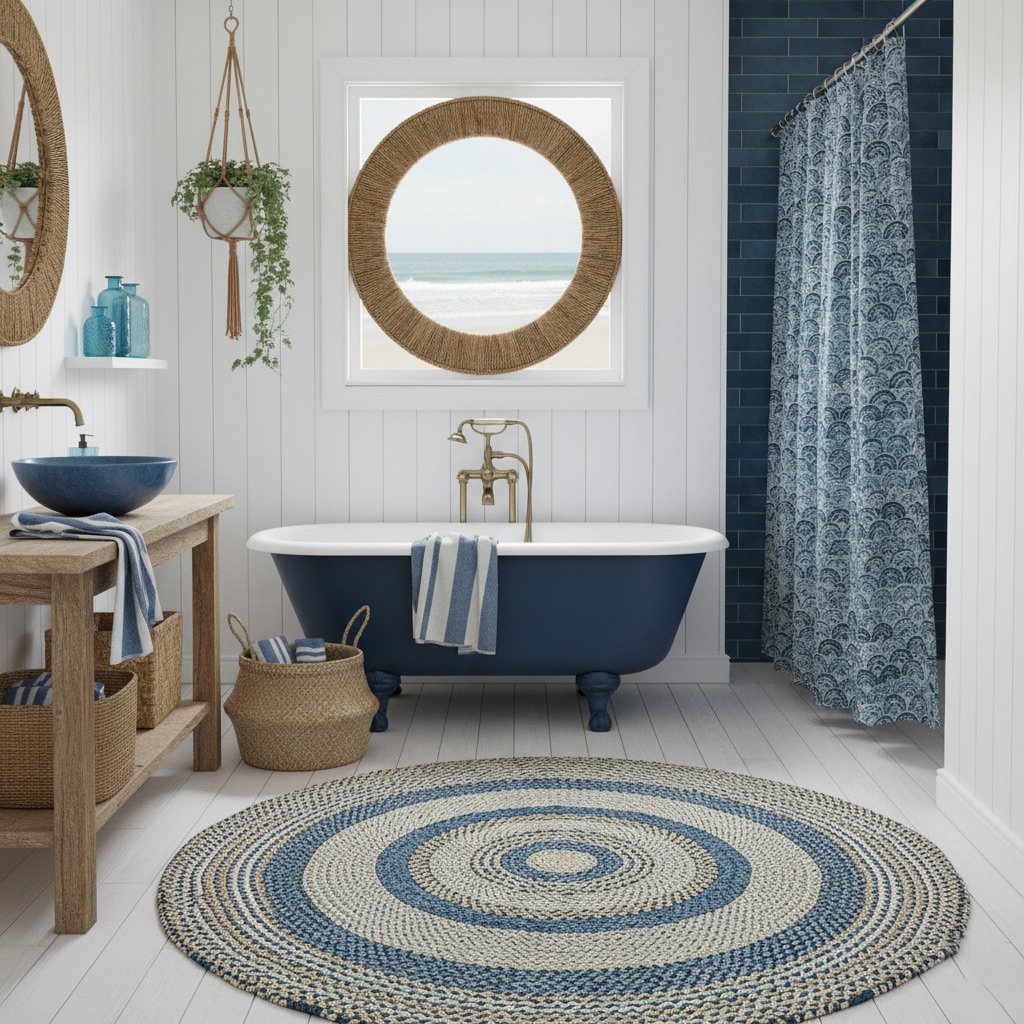
Pasadena’s climate swings from cool mornings to hot afternoons, and acrylic handles that range with ease. Its resistance to humidity makes it perfect for bathroom remodels where moisture is a constant. Plus, the material’s ability to mimic stone or tile means you can keep the historic charm of older homes while adding a fresh, contemporary edge.
Choosing the Correct Thickness and Panel Profile to Prevent Cracking and Warping
Why Thickness Matters
In a Pasadena bathroom, temperature swings and humidity are a daily reality. Too thin a panel will flex under the weight of fixtures and the push‑pull of daily use, leading to cracks that spread like gossip. Aim for a minimum of 6 mm for standard showers and 8–10 mm if you’re installing a full‑wall surround.
- 6 mm – suitable for small tub enclosures, low‑traffic areas.
- 8 mm – ideal for walk‑in showers, medium traffic.
- 10 mm – best for high‑traffic, wet rooms, or historic homes with uneven walls.
Picking the Right Panel Profile
The profile is the hidden hero that lets acrylic breathe and move without breaking. A curved “U‑profile” gives a clean edge and hides seams, while a flat “L‑profile” is easier to install but demands perfect alignment.
- U‑profile: smooth transition, forgiving on minor gaps.
- L‑profile: simple, cost‑effective, requires meticulous prep.
- Hybrid profile: combines the best of both, perfect for historic homes with quirky angles.
Remember, the right thickness paired with a compatible profile is the foundation of a wall that stays flawless for years. Skip the cheap shortcuts, and you’ll save yourself a mountain of repair bills later.
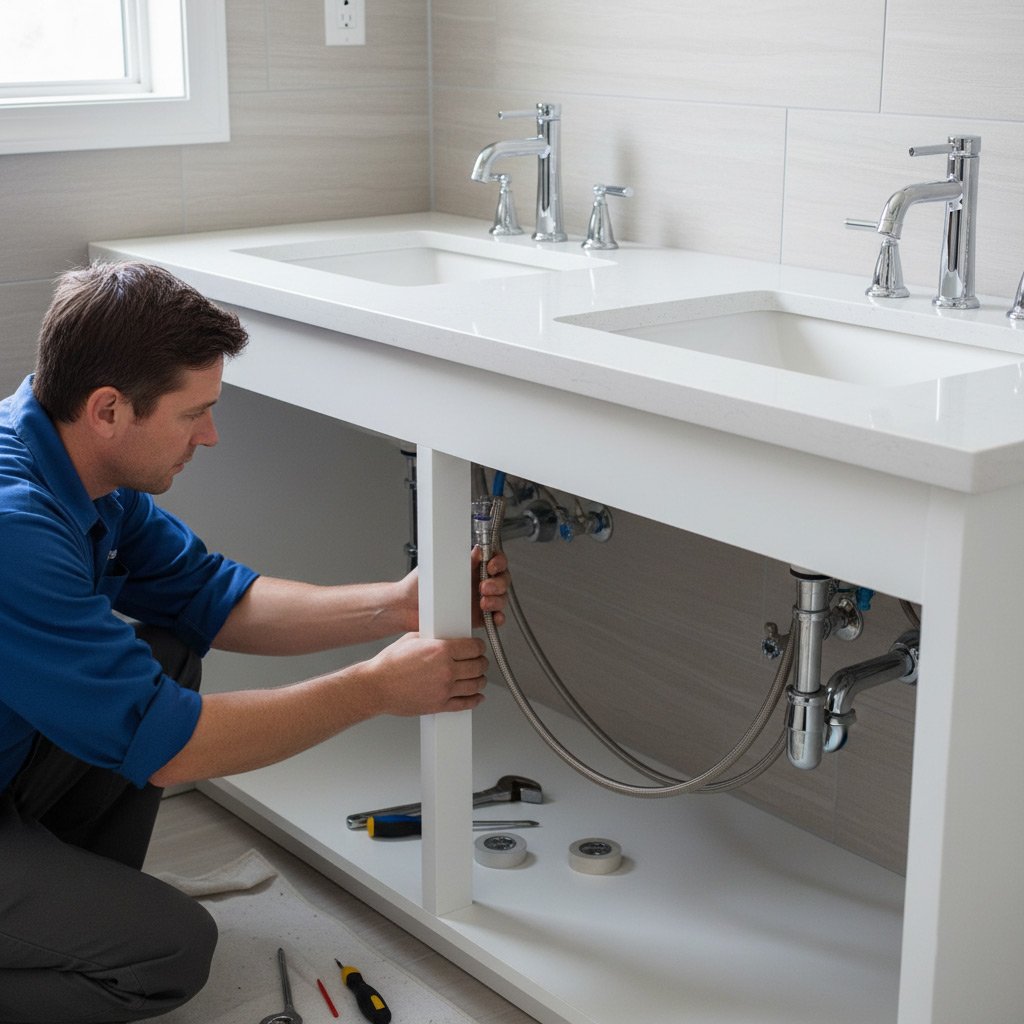
Preparing the Substrate: Moisture Management, Leveling, and Surface Treatments
Seal Out the Humidity
Pasadena’s sunny climate can turn a bathroom wall into a moisture trap if you skip the barrier. Apply a vapor‑retardant membrane directly to the studs or existing drywall, overlapping seams by at least 6 inches. Don’t trust “just a coat of paint”—it won’t stop water from seeping into the acrylic panels later.
Get It Flat, Get It Right
A wavy substrate is a recipe for cracked panels. Use a long level or laser line to spot low spots, then shim or sand them out. Every inch should be within 1/16‑inch of the next—that’s the sweet spot for a seamless install.
Prep the Surface for Adhesion
Clean, dry, and prime the wall before you lay anything down. Remove dust, grease, and old caulk; a simple tris‑solution wipe works wonders. Follow with a high‑bond acrylic primer that the manufacturer recommends, and let it cure fully.
- Inspect for water stains—repair any leaks first.
- Install a moisture‑resist sheet, taping seams tightly.
- Level the wall, then sand high spots smooth.
- Clean with a mild detergent, rinse, and dry.
- Apply the approved primer, wait the recommended time.
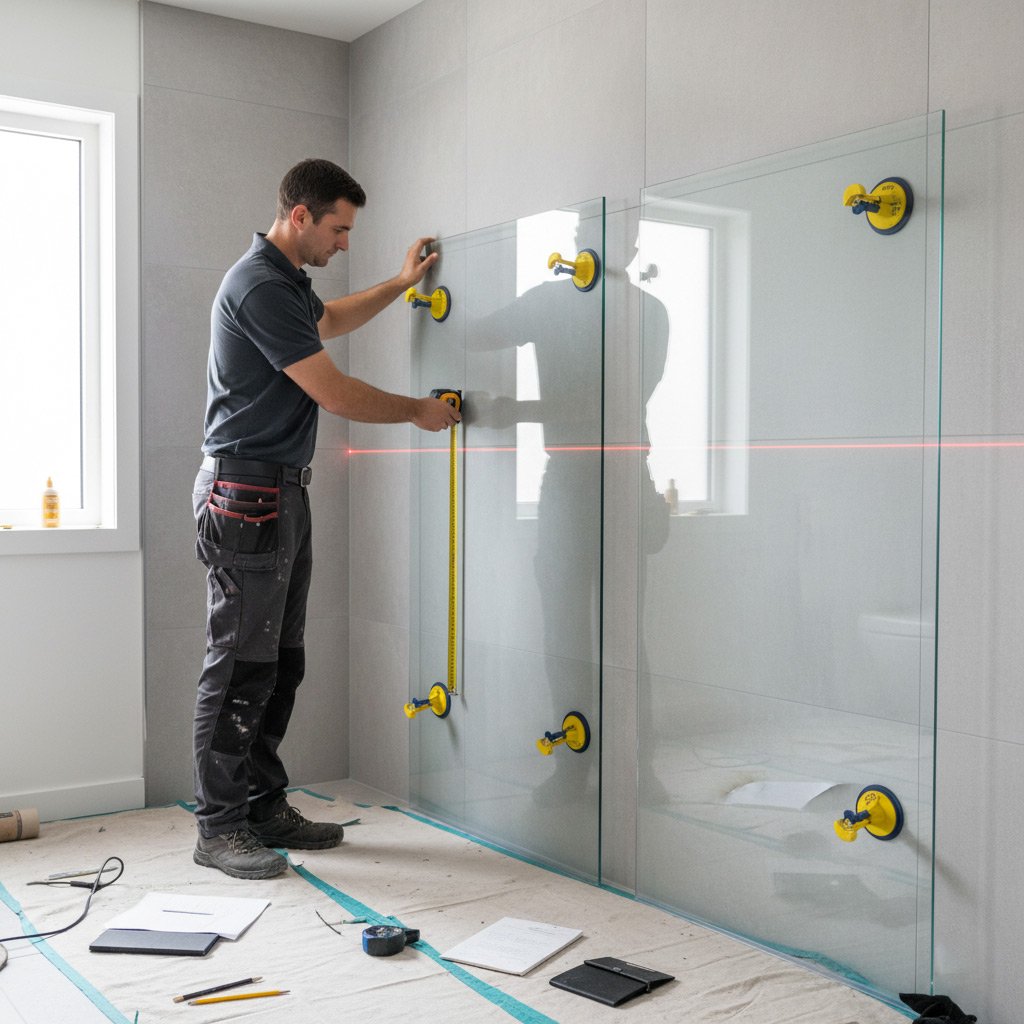
Step‑by‑Step Installation: Cutting, Fitting, Fastening, and Sealing Techniques
Grab your tape measure, a fine‑tooth saw, and a clear head. The secret to flawless acrylic walls is treating each step like a mini‑project, not a rush job. Follow the rhythm below and you’ll avoid the “oops” that drives up labor costs.
Cutting the Panels
Measure twice, cut once—then double‑check the cut line before you fire up the blade. Acrylic loves a clean, straight edge; a jagged slice invites cracks later.
- Mark the cut line with a permanent marker and a straight edge.
- Use a circular saw with a 10‑mm carbide blade; set the speed to low.
- Support the panel on a flat surface; let the blade do the work, don’t force it.
- After the cut, sand the edge lightly with 120‑grit paper to smooth any burrs.
Fitting the Panels
Lay the pieces on the floor first; this gives you a visual map before you lift them onto the wall. A snug fit means fewer gaps and less reliance on sealant.
- Dry‑fit each panel against the studs, checking for alignment with doors and fixtures.
- Leave a 1/8‑inch expansion gap at corners and around windows; acrylic expands with heat.
- Use a rubber mallet and a thin shims to nudge panels into place without cracking.
Fastening the Panels
Secure the panels with the right hardware, and you’ll lock in stability for years. The wrong fastener can pull the panel away from the wall, creating a water‑trap.
- Choose stainless‑steel screws with a flat head; they resist rust in Pasadena’s humidity.
- Pre‑drill pilot holes ¼‑inch larger than the screw shank to avoid splitting.
- Space screws every 12‑18 inches along the studs; keep them flush with the panel surface.
- Apply a thin bead of construction adhesive behind each screw for extra hold.
Sealing the Joints
Sealant is the final line of defense against moisture sneaking behind the acrylic. A sloppy bead is a ticket to mold and costly repairs.
- Choose a 100% silicone sealant that’s UV‑stable; Pasadena sun can degrade cheap products.
- Run a continuous bead along every edge, then smooth with a wet finger or a sealant tool.
- Press a fiberglass mesh tape into the bead at corners for added strength.
- Wipe away excess sealant within 5 minutes; it cures fast and leaves a clean line.
Common Pitfalls and How to Avoid Them: Expansion Gaps, Improper Adhesives, and UV Exposure
Expansion Gaps: Why They Matter
Even the toughest acrylic will bow or crack if it can’t breathe. Leave a ¼‑inch gap at every corner and let the panel expand with Pasadena’s temperature swings.
Use a flexible silicone backer rod in the gap; it acts like a shock absorber and keeps water out. Skip the filler and you’ll hear that snap the next summer.
Improper Adhesives: The Silent Saboteur
Not all glues are created equal. A tile‑mortar‑type adhesive will lock the panel in place and turn it into a brittle slab.
Choose a marine‑grade acrylic adhesive that stays flexible after curing. Apply it in a trowel‑spread pattern—no clumps, no gaps.
UV Exposure: The Hidden Enemy
Sunlight streams through Pasadena windows, and UV rays love to degrade acrylic over time. The result? Yellowing, brittleness, and a look that screams “cheap”.
Protect the panels with a UV‑blocking sealant on the exposed edges. Reapply every 3‑5 years, and the shine stays showroom‑fresh.
- Leave expansion gaps; fill with silicone backer rod.
- Use marine‑grade, flexible adhesive—not mortar.
- Seal edges with UV‑blocking finish.
Case Study: A Successful Acrylic Wall Retrofit in a Historic Pasadena Residence
The Challenge
When the owners of a 1920s Craftsman home wanted a modern bathroom, they feared the original plaster would crumble under a heavy acrylic system. Preserving the character of the period while adding a sleek, low‑maintenance surface seemed like a gamble.
We knew the key was to respect the old substrate and choose a panel profile that wouldn’t stress the delicate walls.
The Execution
Our crew started with a thorough moisture test, then applied a vapor‑barrier primer to lock out humidity. Next, we selected 6 mm high‑impact acrylic panels—thick enough to resist warping but thin enough to stay light.
Installation followed a tight checklist:
- Mark expansion gaps every 24 in.
- Use a marine‑grade adhesive that stays flexible in Pasadena’s heat.
- Seal all seams with a UV‑stable silicone caulk.
Every cut was made on a dedicated jig to keep edges clean, and we fastened the panels with hidden clips that allow a little give when the house expands.
The Payoff
Six weeks later the bathroom looked like a showroom—bright, seamless, and completely in harmony with the home’s historic vibe. The owners reported zero leaks and no cracks after the first summer heatwave.
What we learned: proper prep beats a pricey redo, and choosing the right thickness plus a flexible adhesive keeps acrylic walls happy for decades.
Final Words
When you walk away from the job site, the last thing you want is a surprise leak or a cracked panel. Keep the checklist you just built on the fridge, and treat every step like a contract with yourself—no shortcuts, no excuses.
Quick reference tools
- Measure twice, cut once. A 1/8‑inch gap for expansion is non‑negotiable.
- Use a polymer‑based adhesive approved for acrylic in wet areas.
- Seal every joint with a marine‑grade silicone; it resists UV and humidity.
Need more guidance? Our team lives and works in Pasadena, so we speak the language of local building codes and sunshine‑faded exteriors. Drop us a line or explore the Acrylic Bath Walls page for deeper dives, video demos, and a free on‑site audit.
People Also Ask
What thickness of acrylic wall panels is best for Pasadena bathrooms?
A ¼‑inch (6 mm) panel is ideal for most residential bathrooms, offering a balance of durability and flexibility. Thicker panels (⅜‑inch) can be used in high‑traffic areas but may require additional support.How do I prepare the wall substrate before installing acrylic panels?
Ensure the surface is clean, dry, and level; apply a moisture‑resistant primer if needed. Repair any cracks or uneven spots and use a backer board on porous walls to prevent moisture infiltration.Which adhesive works best for acrylic wall installation in humid climates?
A high‑performance, water‑based acrylic adhesive formulated for bathroom applications is recommended. It provides strong bonding while allowing slight movement to reduce cracking.Why are expansion gaps important when installing acrylic walls?
Acrylic expands and contracts with temperature changes; gaps allow this movement without stressing the panels. Without gaps, panels can warp, crack, or pull away from the substrate.Can UV exposure damage acrylic bathroom walls?
Direct sunlight can cause discoloration and brittleness over time. Use UV‑resistant acrylic or install window treatments to protect the panels in sun‑lit bathrooms.Pasadena Bathroom Remodel specializes in high‑quality bathroom renovations, drawing on over a decade of craftsmanship in the Pasadena area. Their team combines local design insight with meticulous project management to transform homes with lasting results. Committed to personalized service, they work closely with each client to bring their vision to life.
Need Bathroom Remodel?
We revitalize bathrooms in Pasadena and surrounding communities, delivering high‑quality remodels on a fast timeline (91101, 91103, 91104, 91001, 91201). Our focused process gets your space ready for daily use in weeks, not months.
Get Bathroom Quote